The below steps will guide you on how to use the Social Icons widget on your webpages:
Step-1:
From the Elementor panel, drag the “Social Icons” widget to a container on your page.

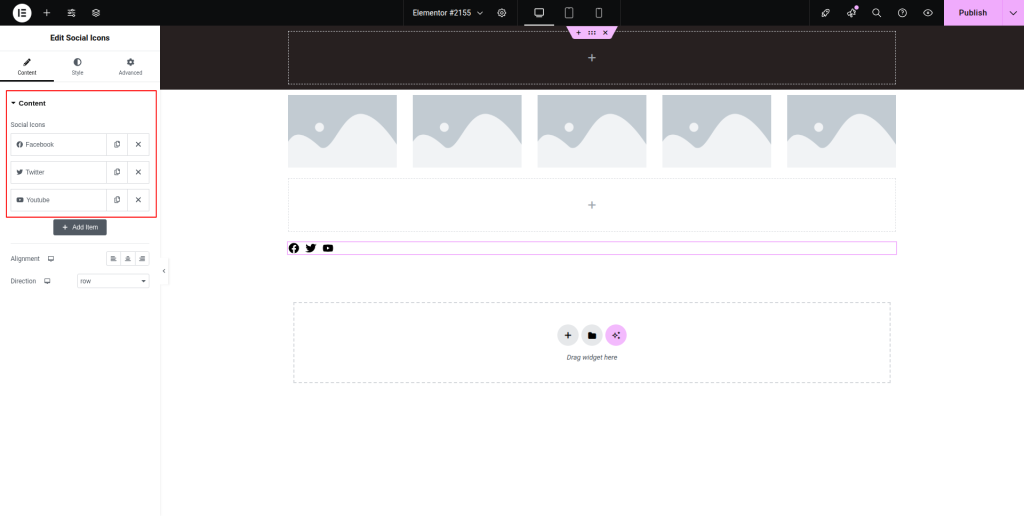
Step-2:
Under the “Content” section, click on the “Add Item” button to add as many social icons as you want.
Step-3:
Upload the icon for each item by either clicking on “Icon Library” or “Upload SVG.” Attach the genuine link for each icon under the “Link” option.
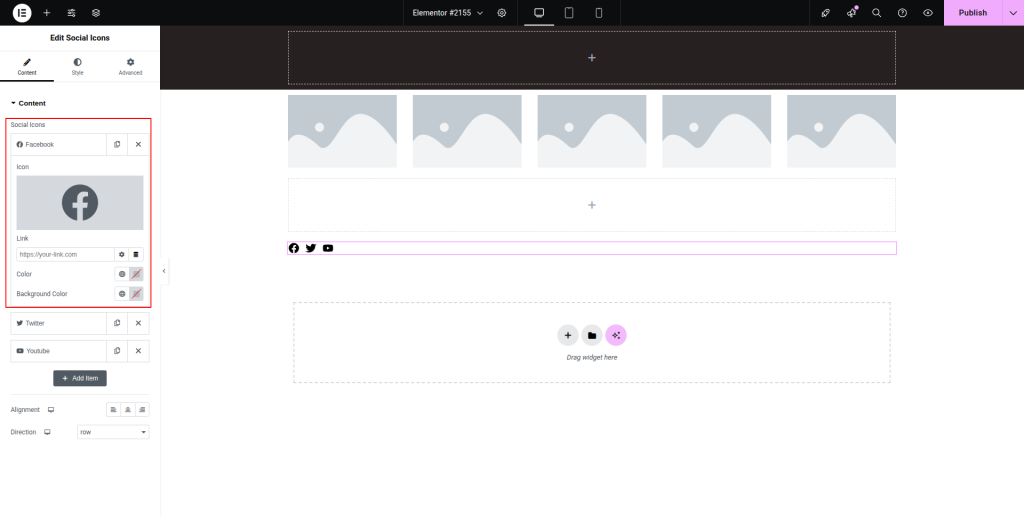
Step-4:
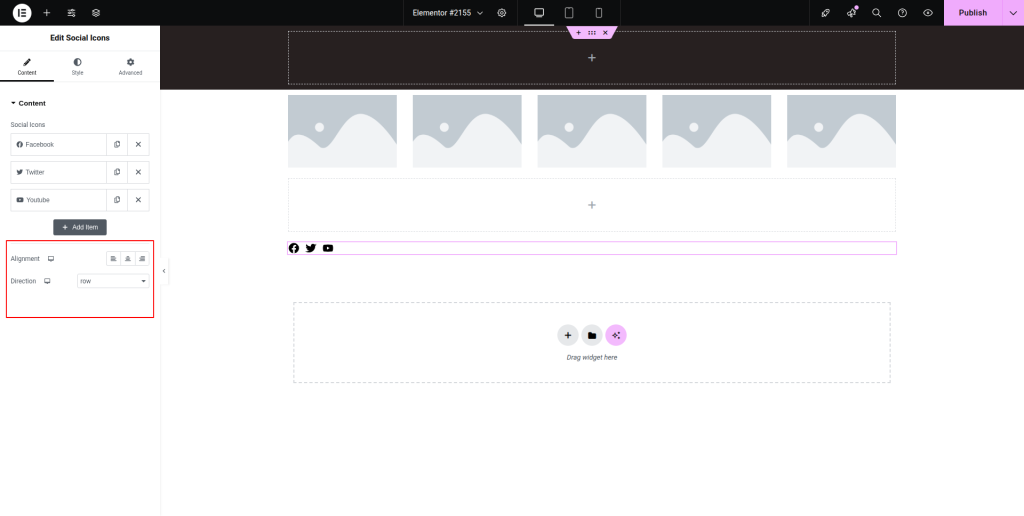
Set the color and background color for the icon. Then adjust the alignment and direction of the icons from the “Alignment” and “Direction” options.
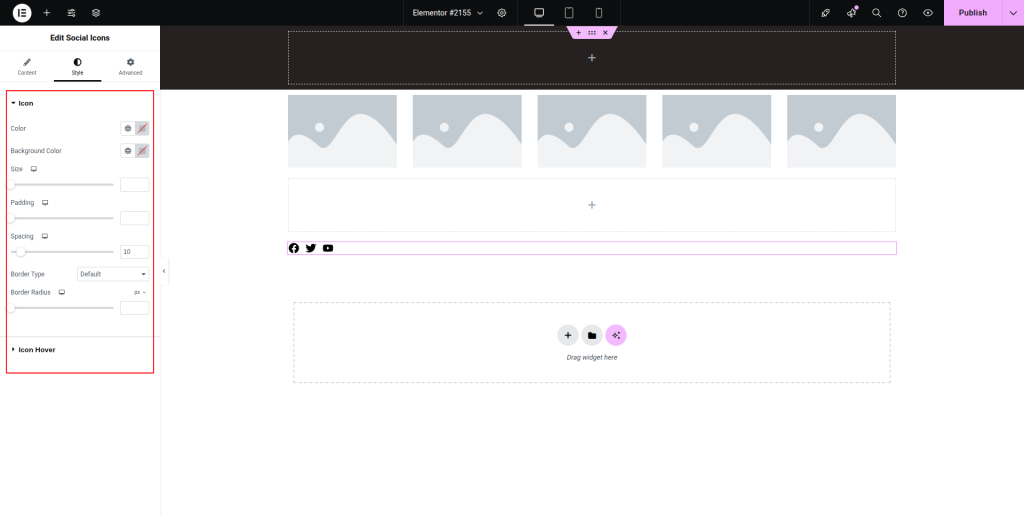
Step-5:
After moving to the “Style” section, adjust the additional style for the icon and icon hover. Configure some advanced settings from the “Advanced” section as per the requirements.