Follow the below documentation to master the procedure for using the Event Slider widget:
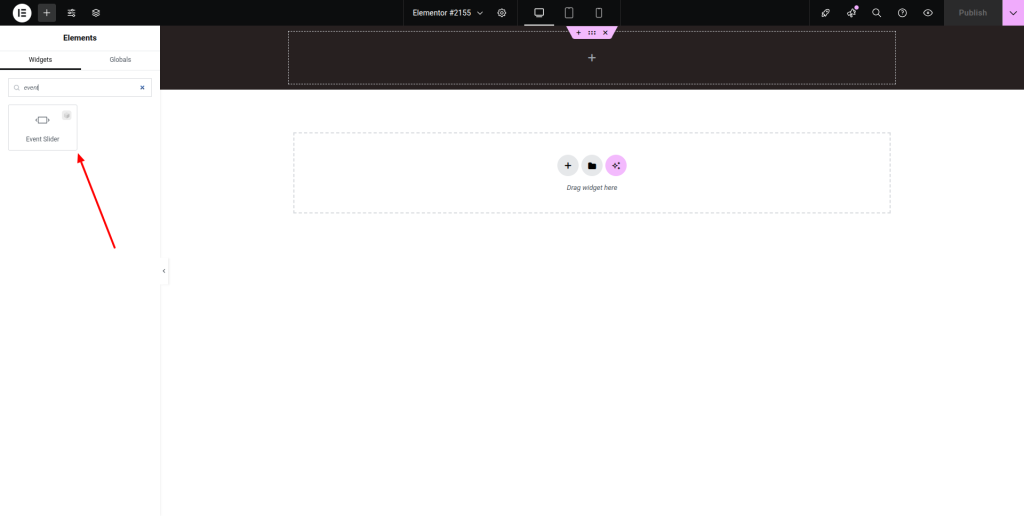
Step-1:
From the Elementor panel, drag the “Event Slider” widget to a container on your page.
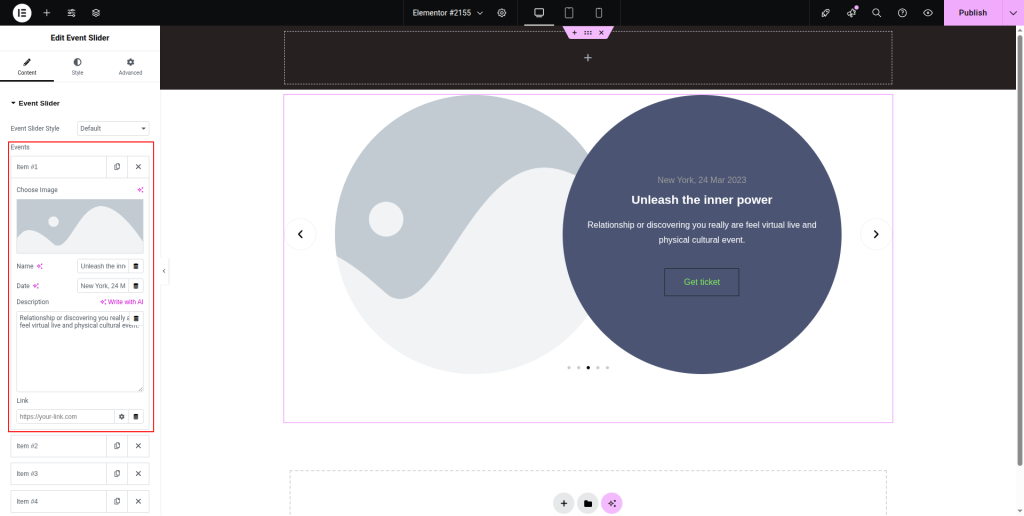
Step-2:
Under the “Event Slider” option, choose an event slider style first. Then click on the “Add Item” button under the “Events” option.

Step-3:
Choose an image for the event. Write the event name, date, and description. Attach a link under the “Link” option. Finally, adjust the image resolution, title tag, and max width.
Step-4:
Move to the “Button” option and choose a style for the button from the drop-down list located next to the “Style” option. Select a hover style, icon, icon position, and direction. Write the button text and adjust the icon spacing.

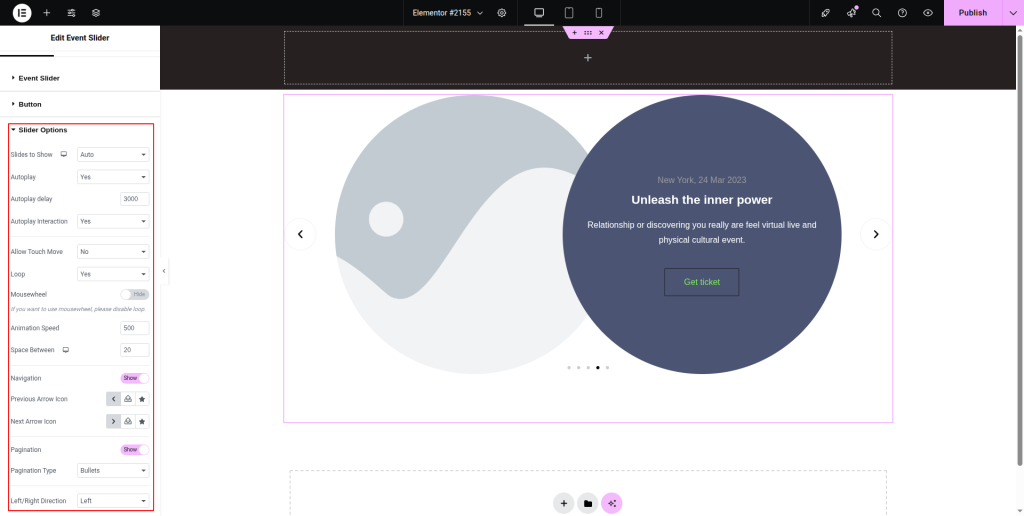
Step-5:
From the “Slider Options”, adjust the “Slides To Show”, “Autoplay”, “Autoplay delay”, “Autoplay Interaction”, “Loop”, “Animation Speed”, “Navigation”, “Pagination”, “Direction”, and other necessary parameters.
Step-6:
Under the “Style” section, customize the style for the “Image”, “Content”, “Button”, “Slider Navigation”, and “Slider Pagination” options.