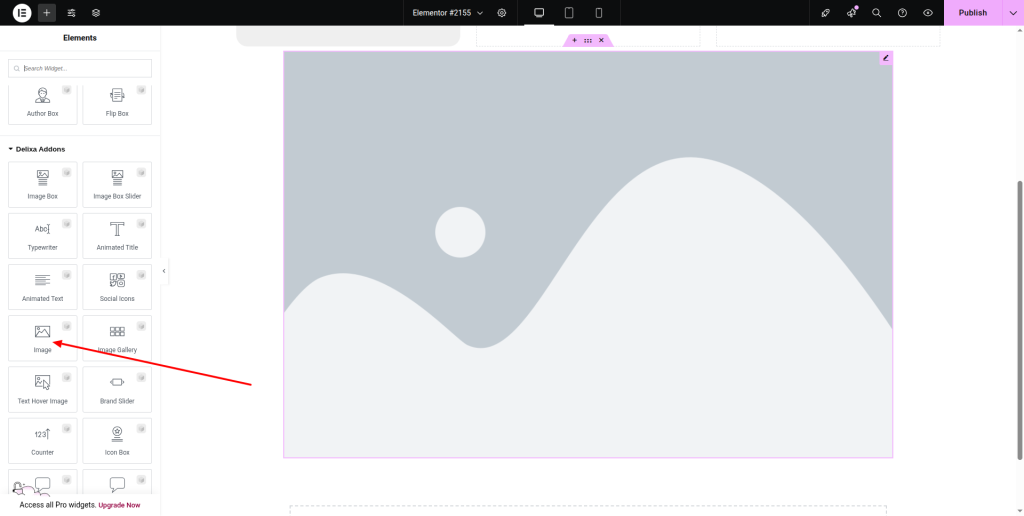
On the left panel of the Elementor page, look for the “Image” widget under the “Delixa Addons” section. Add a container to the specific location of your page and drag the “Image” widget to it.
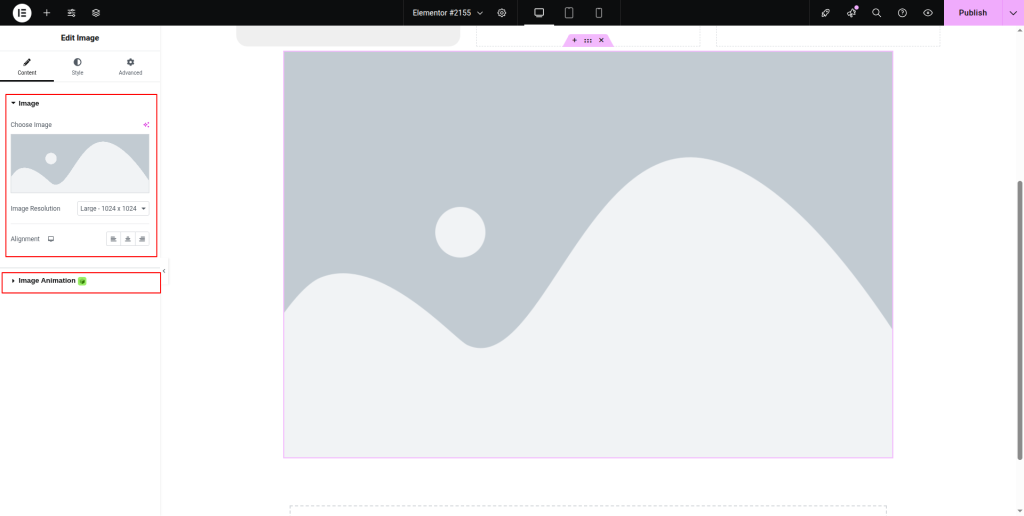
Now insert an image into the container by adjusting the resolution and alignment from the “Image” option. Then press on the “Image Animation” option under the “Content” section.
As soon as you click, the “Animation” option will appear with a drop-down list. From the list, you can choose a particular type of animation from “Reveal”, “Scale”, and “Stretch” for the image.
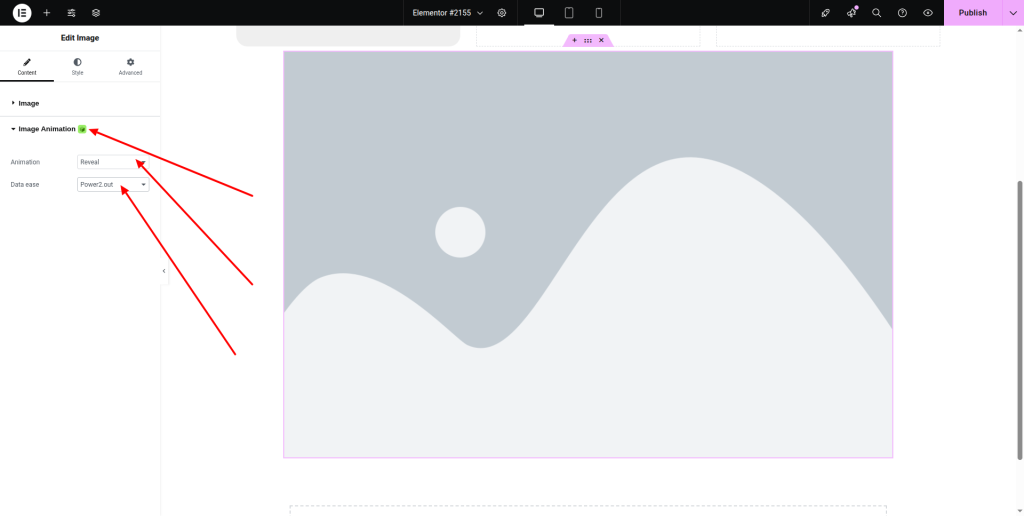
If you choose “Reveal”, adjust the “Data ease” as well. For the “Scale” animation, you need to set the values of “Start Scale”, and “End Scale” along with the animation starting position.
Under the “Basic” section of the Elementor widget panel, you can see the “Image” widget, which will also allow you to add animation to images. Similarly, insert a container and drag the widget to it.
Attach the image and tap on the “Image Animation”. From the drop-down list located next to “Animation”, choose a particular type of animation.
Once you complete making your images animated, you can press the “Update” button below the page to save the changes.