Read the below documentation to showcase your product’s price in a more elegant way with the Advance Pricing Table widget:
Step-1:
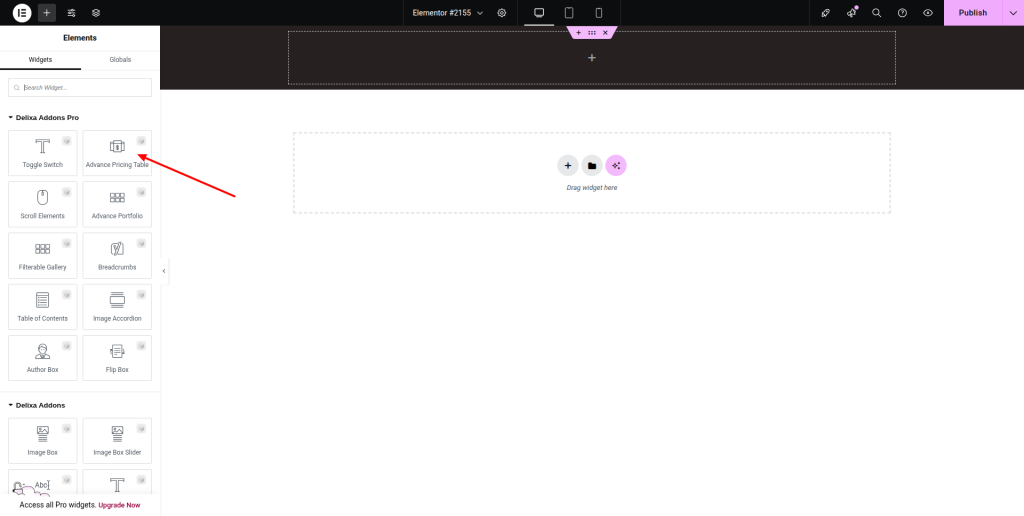
From the Elementor panel, drag the “Advance Pricing Table” widget to a container on your page.
Step-2:
Select a layout from the “Layout” option. Set an icon, write a title, and choose an HTML title for the header from the “Header” option.

Step-3:
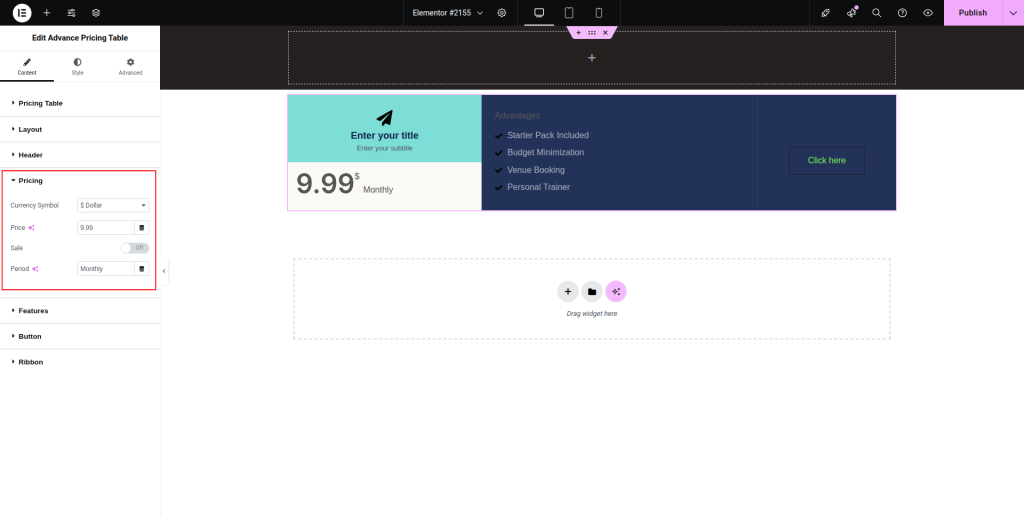
Move to the “Pricing” option and select a particular currency symbol from the drop-down list located next to “Currency Symbol.” Adjust the price, period, and enable the “Sale” button.
Step-4:
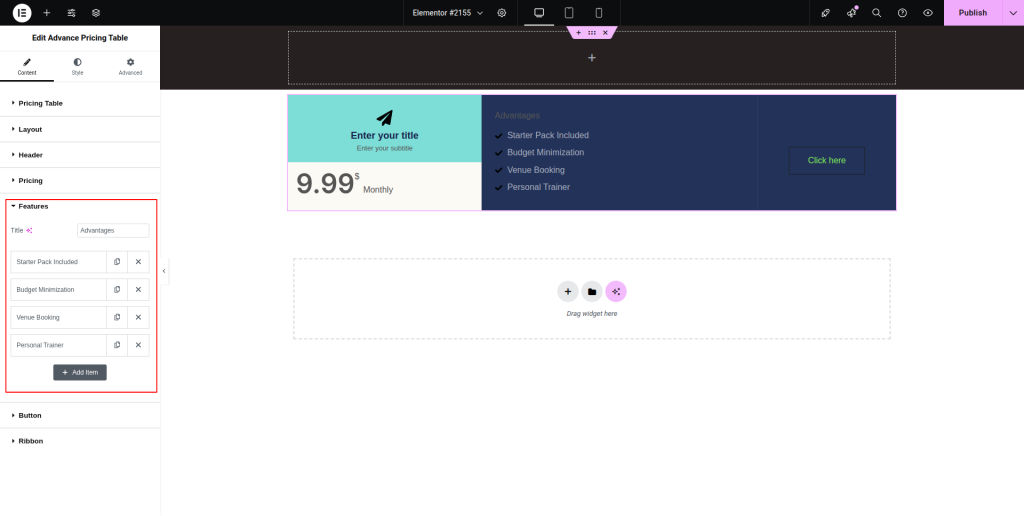
From the “Features” option, click on the “Add Item” button to insert a new pricing item with text, icon, and icon color.
Step-5:
Adjust the text and link for the button from the “Button” option. Then customize the ribbon option as per your choice.

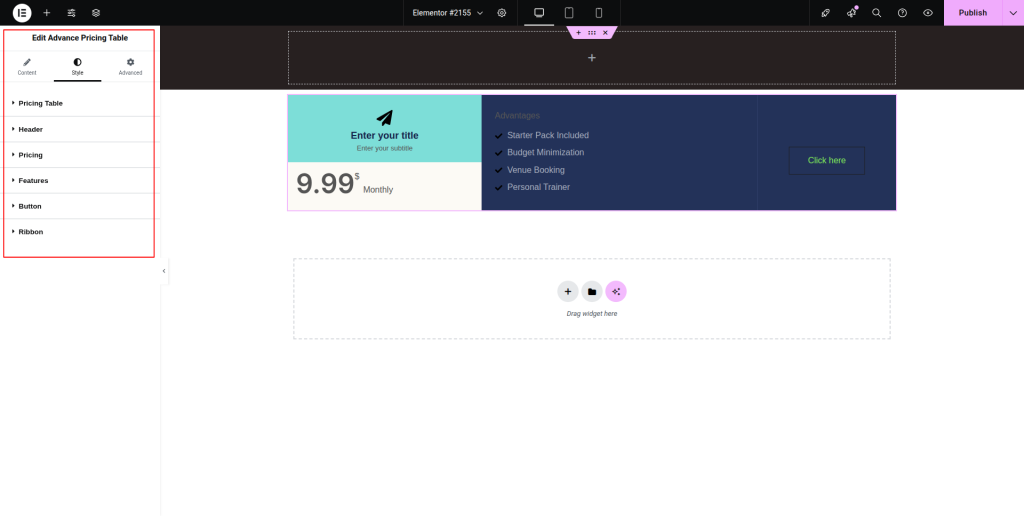
Step-6:
Go to the “Style” section and adjust the style for “Layout,” “Header,” “Pricing,” “Features,” “Button,” and “Ribbon.”.